
0
Maximize the use of your red dot or iron sight with a 36/300 Yard Zero!
Blog
We still see many people trying to zero their carbines and rifles at 100 yards and struggle with hits past that distance. Many know about the 36/300 yard zero method but most still do not. Here is the rundown on the most efficient zero.
The 36/300 yard zero is a popular “combat zero” for the 5.56 NATO/.223 Remington cartridge, particularly for rifles with a 14.5″ or 16″ barrel. It is designed to provide a flat trajectory that allows a shooter to engage ISPC 18×30 humanoid-sized targets out to 300 yards without having to calculate complex holdovers.
Why the 36/300 Zero is Effective For Both Red Dots and Back Up Iron Sights
Ballistics follow an arc. When a bullet leaves the barrel, it starts below the line of sight, rises to cross it (the near zero), reaches a peak (ordnance maximum), and then falls to cross the line of sight again (the far zero).
- Flat Trajectory: With a 36-yard near zero, the bullet typically stays within a 4 to 5-inch vertical window relative to your point of aim all the way out to 300 yards.
- Point-of-Aim, Point-of-Impact: Between 25 and 300 yards, you can essentially aim at the center of a target and be confident you will hit a vital zone. The bullet will be slightly high at 150–200 yards (its peak), but not enough to miss a standard silhouette.
- Versatility: Unlike a 100-yard zero, which requires significant “holdovers” (aiming high) at 300 yards, the 36-yard zero keeps the point of impact very close to the red dot or front sight post across common engagement distances.
How to Set Up the Zero at the Range
To set this up, you need a target placed exactly at 36 yards. While you can “approximate” at 25 yards, the ballistics will not properly align at 300 yards unless the distance is precise.
1. Setting Up Your Red Dot
- Mounting: Ensure your red dot is mounted securely and torqued to manufacturer specs.
- Initial Bore Sight: At home or at the range, look through the barrel (if using a bolt-action or AR-style rifle) and align the dot with what you see through the bore at a distant object. This saves ammo by getting you “on paper.”
- Fire a 3-Round Group: Aim at the center of the target at 36 yards. Fire three shots slowly and steadily.
- Adjust: Calculate the clicks needed. (Note: Most red dots are 1/2 MOA or 1 MOA per click. At 36 yards, it takes more clicks to move the dot an inch than it does at 100 yards).
- Confirm: Repeat 3-round groups until your point of impact is exactly behind the red dot.
- The “Mechanical Offset” Check: Remember that at very close distances (5–10 yards), your shots will hit about 2 inches low due to the height of the optic over the bore.
2. Setting Up Iron Sights
- Mechanical Zero: Set your rear sight to its centered position and your front sight post to be flush with the base (or according to the manual).
- Fire a 3-Round Group: Aim at the 36-yard bullseye using a consistent front-sight focus.
- Adjust Elevation:
- If you are hitting low, move the front sight post down (clockwise).
- If you are hitting high, move the front sight post up (counter-clockwise).
- Adjust Windage: Use the rear sight dial to move the point of impact left or right.
- Final Verification: Once you are centered at 36 yards, your irons are now technically zeroed for 300 yards as well.
Tips for Success
- Stability is Key: Use a lead sled, sandbags, or a bipod. You are zeroing the rifle, not testing your ability to shoot off-hand.
- Target Selection: Use a target with 1-inch squares to make it easier to count clicks for adjustments.
- Confirm at Distance: If your range has a 200 or 300-yard line, fire a few rounds there to see exactly where your specific ammunition is landing. Minor variations in muzzle velocity or barrel length can shift the “far zero” slightly.
The 36/300 yard zero is designed to be a “set it and forget it” solution for most tactical distances, but stretching it to 500 yards requires transitioning from “point-and-shoot” to using specific holdovers.
Because the 5.56 NATO round loses velocity rapidly after 300 yards, the trajectory goes from a flat arc to a steep dive. Here is how to manage that drop and how to set up your sights for this specific zero.
Using the 36/300 Zero at 500 Yards
At 500 yards, a standard 5.56 round (like M193 or M855) fired from a 16″ barrel will drop approximately 55 to 65 inches below your point of aim when zeroed at 300 yards. Since you likely won’t have time to dial your turrets in a tactical scenario, you use “human-scale” holdovers:
- 300 Yards: Point of Aim = Point of Impact. Aim center-mass.
- 400 Yards: Aim at the top of the head (or slightly above the shoulders). The ~25-inch drop will put the round into the center-mass/stomach area of a standard silhouette.
- 500 Yards: Aim two full target heights above the center-mass. Since a standard torso target is about 30–36 inches tall, holding roughly two target-lengths above the head will drop the round into the torso.
Note:
At 500 yards, wind becomes a massive factor. A 10mph crosswind can move your bullet 25–30 inches (nearly the width of a person) off-target. Compensation can be done with practice!
Range Setup: Step-by-Step Instructions
To make the 300-yard “far zero” accurate, your 36-yard “near zero” must be perfect. A 1/4-inch error at 36 yards becomes a 2-inch error at 300 yards and a 4-inch error at 500 yards before you even account for wind or shooter error.
1. Setting Up a Red Dot
- Distance: Place your target at exactly 36 yards. Use a rangefinder if possible; “pacing it out” isn’t precise enough for long-range reliability.
- Mechanical Setup: Ensure your mount is torqued. If you have a magnifier, flip it into place now to see your point of impact more clearly.
- Fire a 5-Round Group: Use a bench rest or sandbags. You want to remove all human variables.
- Adjust: If your red dot is 1/2 MOA per click, one click will move the impact roughly 0.18 inches at 36 yards.
- To move 1 inch at this distance, you need approximately 5-6 clicks.
- Refine: Continue until your group is centered on the bullseye.
2. Setting Up Iron Sights (A2/BUIS Style)
- Center Your Sights: Set your windage to the mechanical center. For A2-style rear sights, ensure the elevation dial is set to the lowest “300” (or 6/3) setting.
- Fire a 5-Round Group: Focus on the tip of the front sight post.
- Elevation Adjustments:
- If hitting low, turn the front sight post clockwise (down).
- If hitting high, turn it counter-clockwise (up).
- Do not adjust the rear elevation dial yet; the 36-yard zero is meant to align with your rear sight’s base 300-yard setting.
- Windage: Adjust using the rear sight knobs.
Summary Trajectory Table (16″ Barrel / M193 55gr) for 18×30 ISPC Full Size Humanoid Competition Target (See Image Below.)
| 36 Yards | 0 (Zero) | Center Mass |
| 100 Yards | +3.5 to 4.5″ High | Lower Chest |
| 200 Yards | +4.0 to 5.0″ High | Sternum/Belly |
| 300 Yards | 0 (Zero) | Center Mass |
| 400 Yards | -25″ Low | Top of Head |
| 500 Yards | -60″ Low | 2 Target-Heights Above |
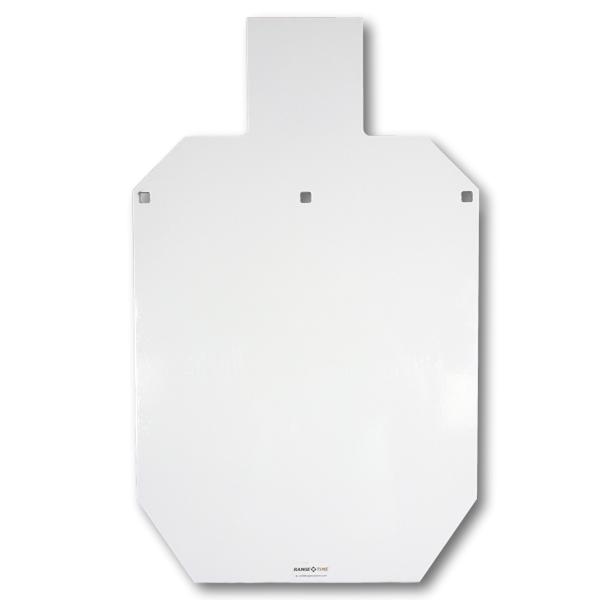
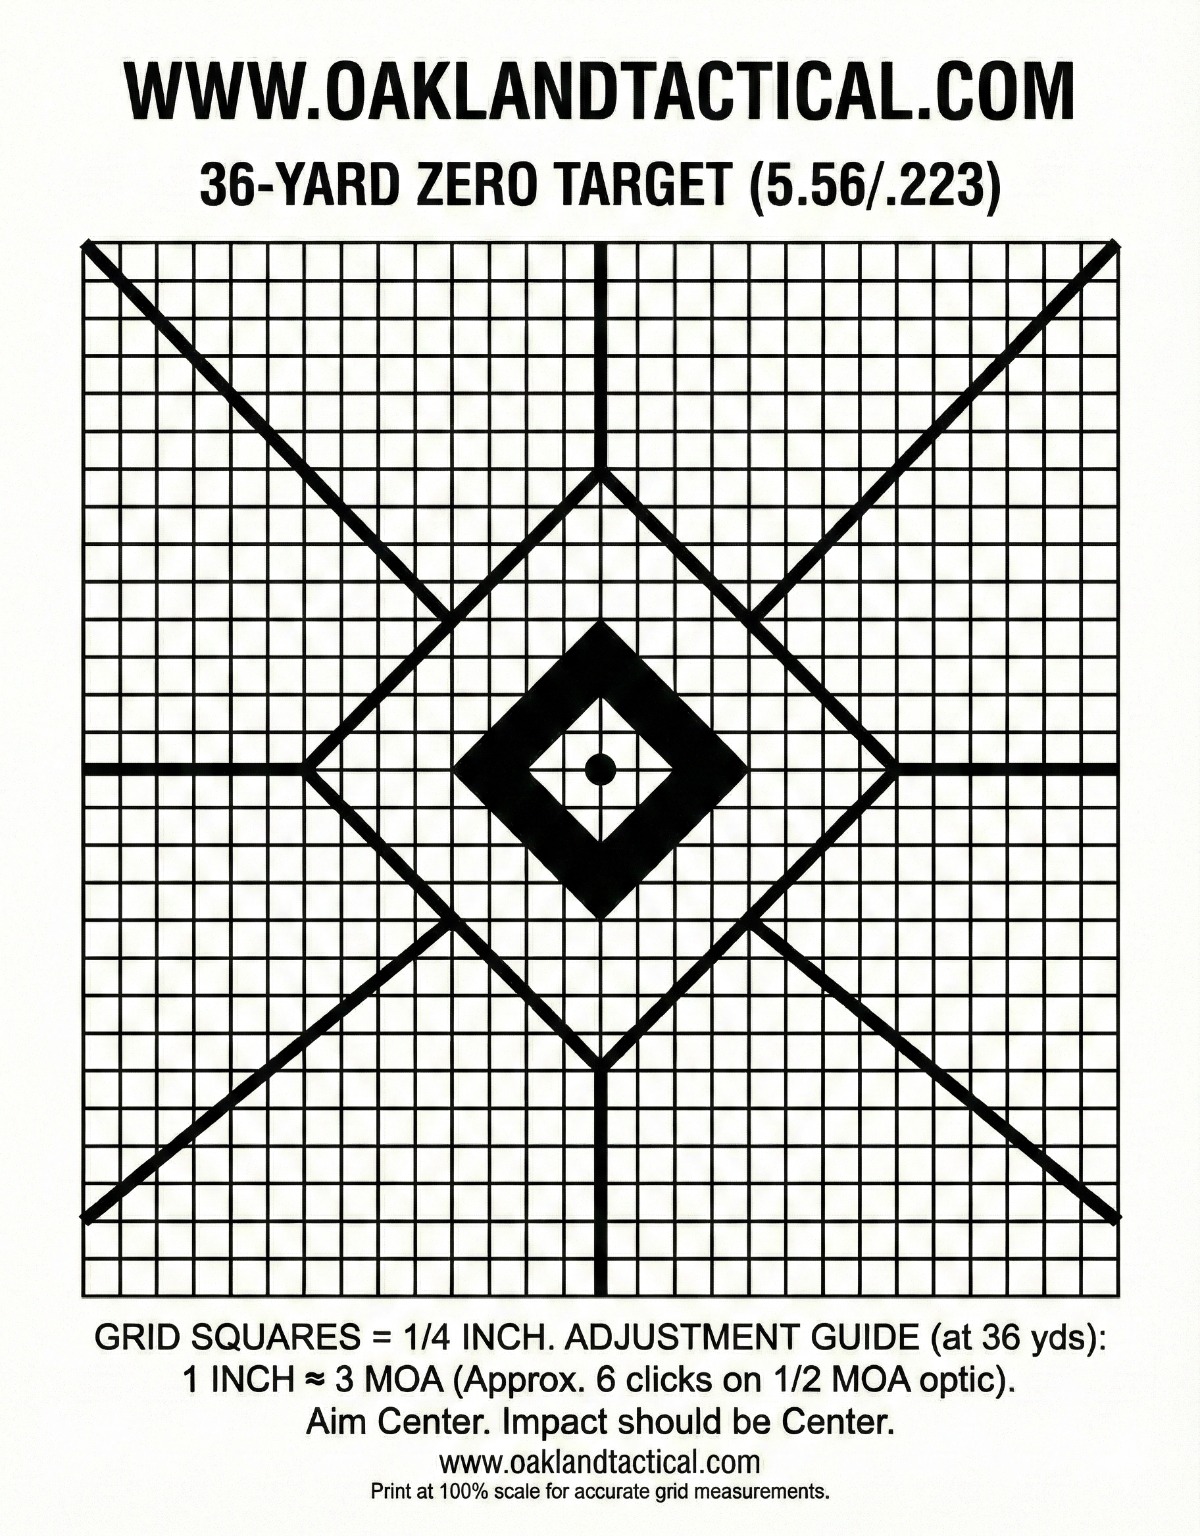
Copy and save this Target and make sure you print it in portrait at 100% to use the grid. Save your 36 yard target with the center dot shot out in 5 rounds and get 5% off any purchase.
We hope this simple technique will have you saving more ammo by hitting the targets instead of dirt!
on provides an overview of the blog, showcasing a variety of articles, insights, and resources to inform and inspire readers.
Maximize the use of your red dot or iron sight with a 36/300 Yard Zero!
Blog www.oaklandtactical.com We still see many people trying to zero their carbines and rifles at…

